Introduction
This guide contains suggestions on how to use your cooldowns effectively, and tips and tricks to play each phase as effectively as possible.
Dark Knight is a very solid choice for TEA and can flexibly perform well in any of the fight’s roles (i.e. both ‘main tank’ and ‘off tank’). AS always, Dark Knight have an incredibly potent set of defensive cooldowns and The Blackest Night (TBN) makes mitigating damage incredibly comfortable.
Gear
Dark Knight BiS for TEA can be found at the following link: https://xivgear.app/#/bis/drk/ultimate/tea, which will always be kept up to date and have a variety of options.
If you have the Shadowbringers relic, a GCD speed of 2.45 can make sense to take advantage of the free Skill Speed provided, and is recommended. However, be aware that Skill Speed does not affect Unleash or Stalwart Soul (your AoE combo), which can be relevant for phase two, as at this level, your Stalwart Soul combo is a gain on two. Despite this, we still recommend 2.45 even for groups utilizing AoE more heavily during Phase Two (BJCC), as you won’t be AoEing all of the time, and it is not the phase where damage matters most.
Potion Usage
While potion usage may depend on what your group wants to do, a recommended set of potions would be during Living Liquid, during Alexander Prime, and two potions during Perfect Alexander.
Use HQ Grade 6 Tinctures of Strength or better to cap strength for TEA.
Phase One: Living Liquid
Mitigation and suggestions for this phase will vary greatly depending on whether or not your group is attempting to skip Jagd Dolls. At the time of writing (and at any point in the future), gear, food, and potion improvements have made skipping Jagd Dolls extremely easy, and I would strongly recommend a new static attempting this fight learn to do the ‘Doll Skip’, as it both trivializes and greatly shortens the first phase to being around minute in length. While we wouldn’t normally recommend a strat in a guide like this, the amount of time this will save your group in prog is so substantial that it feels salient to point it out, especially when the lack of adoption is largely driven by people not knowing about it being possible.
However, not all groups will feel confident enough to try something new, and strategies in Party Finder will differ greatly based on the whims of what’s popular in your data center, so this guide will attempt to cover both paths.
Note that whichever strategy you do, it’s recommended for one tank (typically the main tank) to take use an invuln during Living Liquid’s Fluid Swing and the Liquid Hand’s Fluid Strike. You can also use Arm’s Length to not need to dodge the conal AoEs (Protean Waves), and while this doesn’t mean it’s up for the Limit Cut between Phase One and Phase Two, all you really need to do in that phase is look at Cruise Chaser if you’re an even number to not need Arm’s Length.
Skipping Jagd Dolls
Unlike when doing the phase the ’traditional’ way, you should not prepull Rampart as main tank, as you will only get one for the whole phase. Instead, I’d recommend using it after your second GCD, which will last until the Cascade cast. After another few GCDs, you should use TBN on the main tank to cover the Fluid Swing (irrespective of if it’s you).
You should save your Dark Missionary for the Hand of Pain cast, and at least one tank should use Reprisal for the Hand of Pain cast, too. It’s more convenient for the main tank to do this, so try to do this if you are the main tank.
If you’re tanking the boss, you should use Dark Mind and TBN after the second Protean Wave, which will be after you’ve taken both of the tankbusters, which will keep you healthy enough to survive the Hand of Pain cast. Immediately after Hand of Pain goes off, using Shadow Wall almost all of the remaining auto-attacks of the phase, as well as the last Fluid Swing of the phase. In theory, it’s possible to cover the Hand of Pain as well as the Fluid Swing, but it’s very tight, and the extra Hand of Pain mit doesn’t matter so much, so it’s recommended to play it safe and Shadow Wall immediately after the Hand of Pain hits. Once TBN is back up, you can press it to catch the Fluid Swing/autos.
As with all players during doll skip, you’ll want to save your burst until after the boss splits its health bar into two. This essentially makes your burst do ‘double damage’ since it’s after the health has been halved, and maximizing damage is key to making this strat comfortable. As a result, make sure to not send your big damage early. A good recommendation is to use your potion and Living Shadow during the Cascade cast, then use Delirium and start using Bloodspillers after the boss has split.
Doll Skip PoV
For an example of executing Doll Skip from the main tank’s point of view, see this video:
Not Skipping Jagd Dolls
If you’re the main tank, you should use Rampart at -8s to have it back up again for Drainage tethers later in the phase.
Dark Missionary has very high value during the doll feeds, as well as during the splashes/Drainage sequence. While it can be preference, decided by a mit sheet, or figured out with your party, doll feeds would be a good default, as dolls are one of the tightest wipe points in this phase.
TBN can be used liberally throughout this phase, on auto-attacks, or anything even remotely resembling a tankbuster (e.g. Fluid Swings, Protean Waves, Drainage tethers), as there’s constant damage throughout.
Shadow Wall can be used immediately after Hand of Pain to cover a lot of auto-attacks, as well as the second Fluid Swing.
Phase Two: Brute Justice and Cruise Chaser
You will gain about 2400 MP from passive generation between Living Liquid hitting zero HP and BJCC being targetable.
Irrespective of which boss you hold, you will be taking a lot of auto-attack damage throughout the phase, as well as damage from Lightnings. You should TBN liberally, and during raidwides, where possible, starting with the very start of the phase. There should be very few points during this phase when TBN is off cooldown and not being used, and you should be hitting it practically off cooldown. The Whirlwind cast that Cruise Chaser does throughout the phase should be Reprisaled by at least one of the tanks.
The Hidden Mine that you’ll need to take during this phase doesn’t hurt too much, but should be mitigated and treated like a tankbuster regardless, as the sequence you take it is also surrounded by a large string of auto-attacks. You should mitigate this with TBN alongside Dark Mind and Rampart or Shadow Wall. If you skipped dolls in the first phase, Shadow Wall won’t be up yet, and you should definitely use Rampart here. The Double Rocket Punch that happens after Gavel, later in the phase, is roughly 82 seconds after you’ll need to take your Hidden Mine, so timing your Rampart two GCDs after Spin Crusher can allow it to be used for both.
If using Rampart for both Double Rocket Punch and Hidden Mine, Shadow Wall can be used on the second lightning pass and Flarethrower, or whichever sequence of auto-attacks seems deadliest. You can use any of your remaining mitigation alongside a TBN for the Double Rocket Punch that happens after Gavel.
Dark Missionary should be used during one of the water passes of this phase, but which it’s best on may depend on which strat you used in Phase One, as your healers’ resources will come up at different points depending on if you did doll skip or not. If you did doll skip, then healer cooldowns will generally come back for the second water pass, and if you didn’t, they should be up for the first. In other words, you should use Dark Missionary to help with either the first or third water pass if you did skip dolls, or you should use it for the second or third water pass if you didn’t.
Phase Three: Alexander Prime
You will gain about 1800 MP from passive generation between Phase Two ending and Alexander Prime becoming targetable. Additionally, TBN can be used on non-tanks who do not have Aggravated Assault (lightning bolt debuff) for Temporal Stasis to avoid overcap.
Potions can be used in the first post-Temporal Stasis uptime window to be up for the start of the final phase, but a fast Phase Two might mean your 2m burst is not up in time. If your burst is up, which it generally will be during prog or less optimized groups, it’s safe to use both your burst and potions. Otherwise, you can potion during the second uptime phase, when your group bursts.
When invulning Chastening Heat, don’t press Living Dead too soon. If you press Living Dead too early during the cast bar and Chastening Heat doesn’t kill you (from lingering mitigation), you might not die at a convenient time, and could die during Divine Spear if you press it too early, especially during the second Chastening Heat. To avoid this, make sure you time your invuln ’normally’, near the end of the castbar, and you will be safe. If you invulned phase one and did doll skip, Living Dead might not be up for the first Chastening Heat with a good kill time for phase two, so you should plan to take the second Chastening Heat, to avoid last-minute panic or variability based on Phase Two killtimes.
Rampart can be used to mitigate damage during Inception, allowing you to position a little closer to the crystals, to make positioning to bait Brute Justice’s Flarethrower a little easier. If you opt to do this, be aware that it might not be up if you used it during Double Rocket Punch in the preceding phase, and killed it quickly. However, it’s pretty ‘free’ to move it here, as Double Rocket Punch does very little damage.
You should gain a fair amount of MP during Inception Formation, though it will depend how many combos you manage to fit on the True Heart, but it wil generally be around 4200-5400. In either case, you will always get enough MP to TBN for Super Jump, and this can be used on the tank taking Super Jump, irrespective of how much MP you used during the first uptime phase. You should also Dark Mind and other mitigation for the Super Jump if you’re taking it, as while it doesn’t hurt very much, it does make it more comfortable, and there’s not a lot of other damage to mitigate in this phase, if both tanks are invulning the Chastening Heat + Divine Spear combinations, which generally they should.
Reprisal should be timed once the castbar hits the ‘M’ in Mega Holy after Wormhole Formation to cover both casts. It’s recommended to avoid using Dark Missionary here, as the upcoming J-Waves are much more demanding for mitigation.
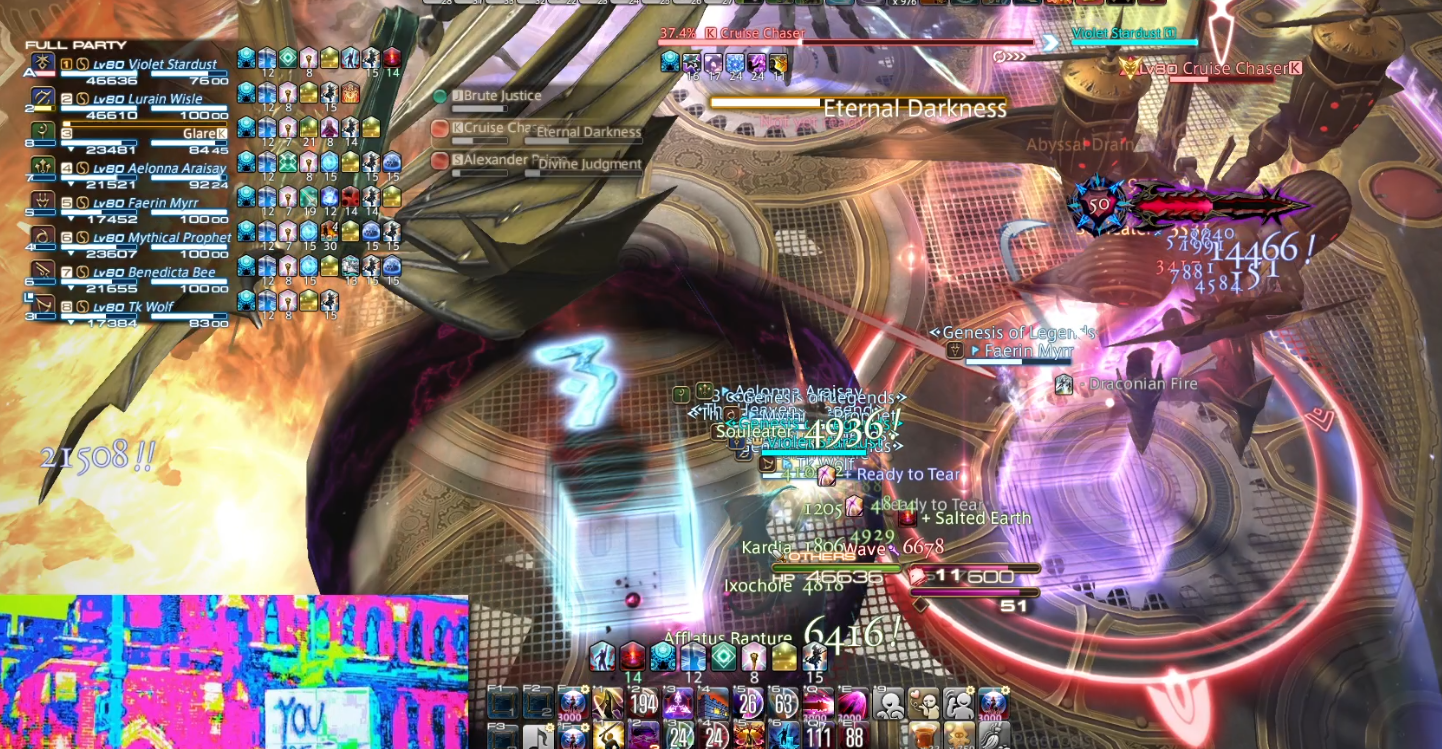
Salted Earth can be used to hit both bosses in the enrage sequence after Wormhole Formation if positioned between the two. Common waymarks for this fight often include a marker in the middle of the arena that you can use to center the Salted Earth. In the middle of the marker will work perfectly. For example, in this image, Salted Earth is hitting both bosses, and it’s not particularly tight, so you should absolutely try to do this.
If you have a fast kill time, and especially if you send your 2m cooldowns during the J-Waves sequence, there may be a lot of time left on Alexander’s enrage before you need to kill it. If so, it’s recommended to wait until near the end to kill it, so that your cooldowns align for the next phase. Remember that you can use Unleash and Stalwart Soul here to build gauge faster than your Souleater combo, and without dealing as much damage as your Souleater combo.
To time LB3 correctly, hit it when the countdown says 3 seconds remaining.
Phase Four: Perfect Alexander
During the opener, be aware that your pot may be interrupted by Ordained Stillness, so buffs should be used as early as possible so that damaging abilities can fit in them. Don’t delay your burst, either, to make sure it all fits.
During this phase, Perfect Alexander will cast Ordained Capital Punishment, a shared tankbuster, followed by Ordained Punishment, a single target tankbuster that leaves a vulnerability. You will need to tank swap during this cast for the tank with aggro to not die to autos. Simply Shirk/Provoke respectively during the Ordained Punishment cast. The damage in total lasts just below 10 seconds, so make sure to Dark Mind near the end of the Ordained Capital Punishment cast bar for it to last fully. Also, be aware that Ordained Punishment (the second cast in the tankbuster) cleaves fairly widely, so you should be standing quite far apart from your co-tank whether you’re the one taking it or not. Most groups will want to kitchen sink and share the first set of cooldowns and invuln the second and third, freing up mitigation for auto-attacks. Regardless of which buster you use Living Dead for, you can use Dark Mind and TBN to survive the first hit and delay the healing from Walking Dead.
Perfect Alexander does not autoattack very much in this phase except for during Almighty Judgment (also known as “Exatrines”). Use your cooldowns while tanking the boss at that point, and let the tank who takes aggro after the last set of busters keep the boss so they can run through their own cooldowns. The tank that’s currently holding the boss (irrespective of if it’s you) should also receive a TBN before or during the dodges.
This phase lasts 5 minutes and 56 seconds, with the caveat that you’ll probably be in Temporal Stasis for an amount of the last bit (tanks will usually take the third or fourth prison). For a fast kill time, it can make sense to hold 1m cooldowns (Delirium and Carve and Spit) after the Irresistable Grace that comes up after Fate Calibration Beta until two minute burst without losing use. That being said, if you’re still progging, not sure, or aiming for a clear, sending everything on cooldown is often best to avoid potentially losing a use. You will also get a final potion after the second Irresistable Grace, and while you won’t get Living Shadow or 2m buffs for this potion, it’s ‘free’ to do and may be the difference between clearing and not doing!
Closing Thoughts
Remember to play it safe, don’t greed stillness (hit escape twice if you’re worried), and best of luck with your clear!
Also remember that, as with a lot of ultimates, parse is not tied very much to how ‘well’ you played or how consistently you performed. Doll Skip is a perfect example of this, as while it makes the fight simpler and easier to prog, it misaligns cooldowns from natural points and doesn’t get any needless cleave on the Liquid Hand.
Another example is that waiting for Alexander to almost finish casting Summon Alexander in the J-Waves sequence will be better for consistency of clearing, but worse for your parse (since you’re standing around doing nothing or simply building gauge). Always — and especially for ultimates — worry about the clear, not your silly internet number!